Our family just returned home from an amazing beach vacation. We are rested (and tan) and ready to get back into the swing. I love going to the beach...there is always so much cookie inspiration!
So to kick off our return to cookies and cookie videos, we are going with a nautical theme!
Today's video features a red, white and blue sailboat - also perfect for the July 4th holiday weekend!

This video is a time-lapse and does not show drying time. I like to allow icing areas to dry a few hours before piping details - and several hours before airbrushing!
Ready to watch? Here you go - enjoy!
This video features the sailboat cookie cutter. It is available online here!

And that little flag at the top of the sailboat is created with tip #65s (it's a mini version of the leaf tip #70). They are both available here. That flag is so cute...and suuppppeeerrrr easy! I think that is my favorite part of the video.
I chose the anchor stencil to add a pattern to the sail - it is available here.

To keep the airbrush only on the right sail, I use a piece of paper to mask of the area that I don't want to be airbrushed. That pink contraption is called a stencil genie. It helps keep the stencil in place and is available from the www.creativecookier.com. If you don't have a stencil genie, you could also hold the stencil in place with a steady hand (rest your hand on the table surface to stay steady) or use magnets to hold the stencil in place.
For more nautical cookie inspiration...check out these cute photos of past projects!
Here is another version (without airbrushing) of the sailboat.

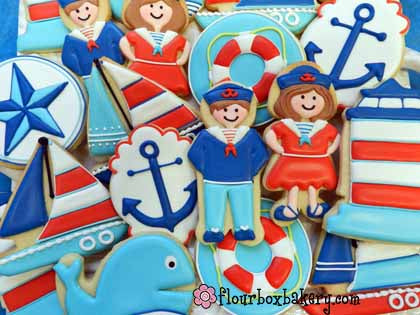
And my favorite - the sailor kids - aren't they so cute!?

I hope you enjoyed today's blog post!
I would like to wish you a fun and safe 4th of July,
Anne

A message from Anne
“My blog is a collection of tidbits about the things I love... sugar cookies, baking, great food, cute stuff, and life in Happy Valley. Check back often for updates!!”
Get your cookie fix
Recent Posts