How to Decorate a Cute Ghost Cookie
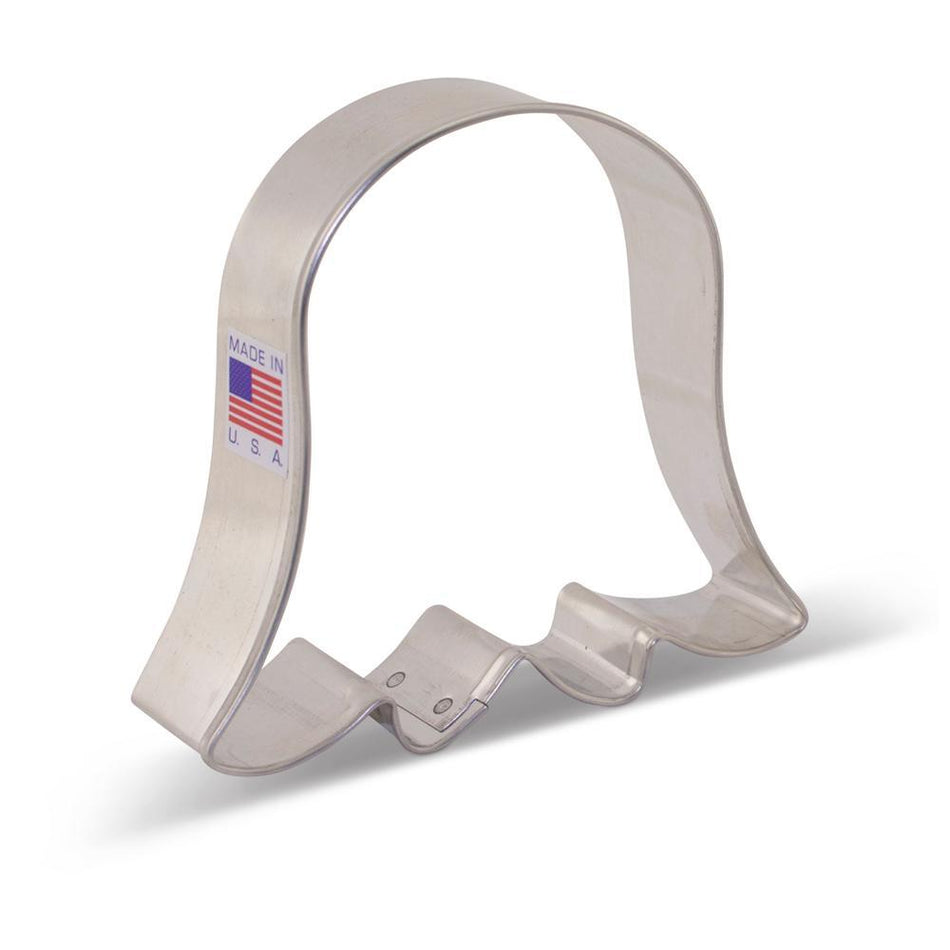
Ghost/Tulip Cookie Cutter
$2.99
Repeat after me, "I can create cookies with confidence!" You have what it takes, my fellow cookie fanatic. Just take a deep breath, follow the tutorial step-by-step and have a blast! Happy decorating!
- Anne Yorks, owner The Flour Box
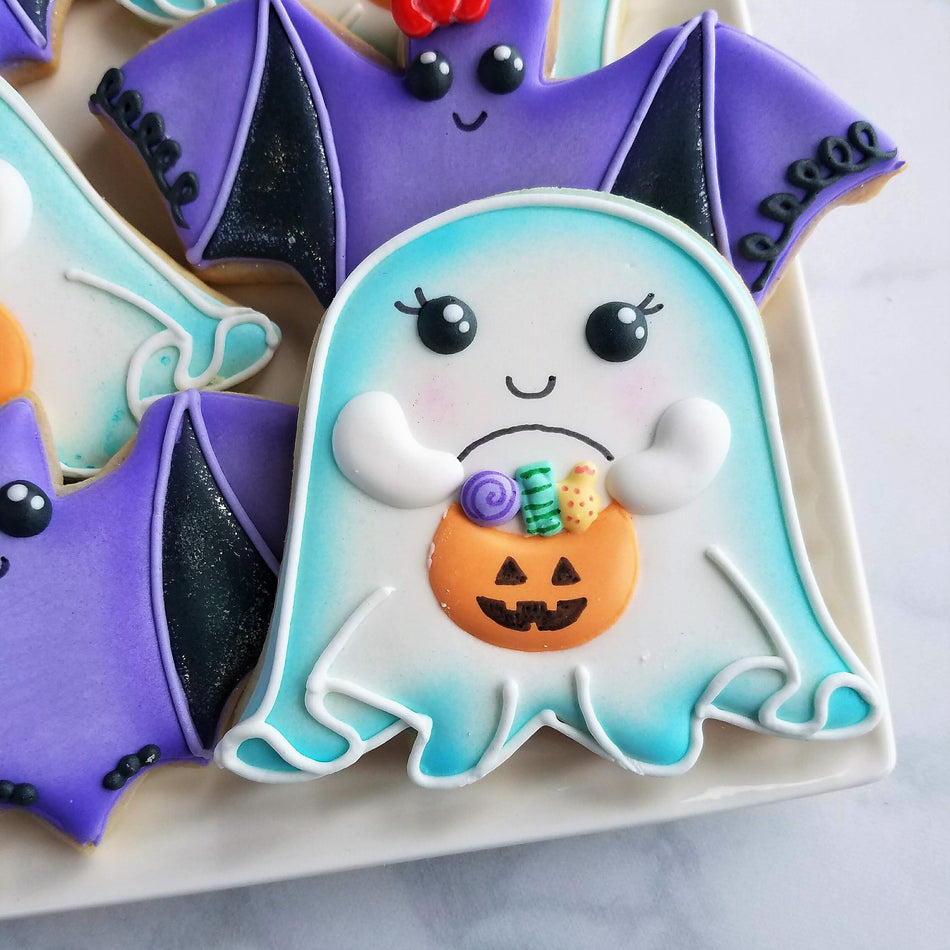
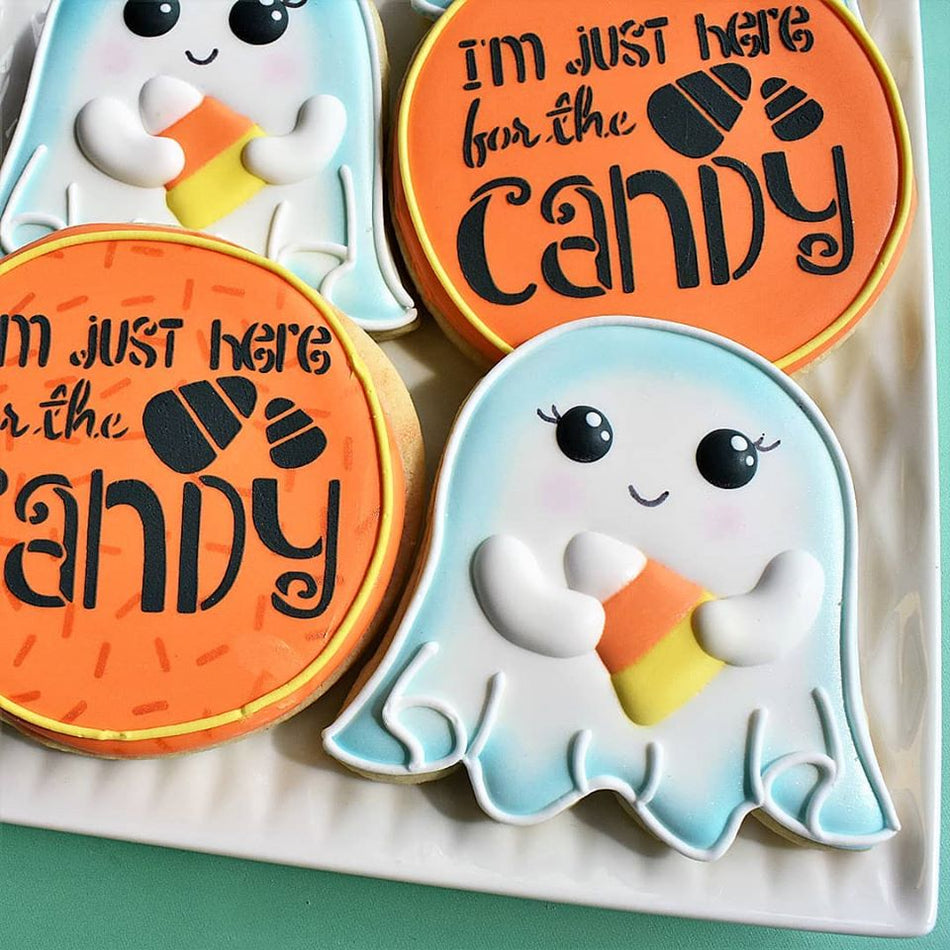
This adorable Trick or Treat Ghost is made easier with a royal icing transfer! Add rosy cheeks and a pop of airbrush and this little cutie is ready for Halloween! Watch and learn how to make this Cute Ghost from start to finish. I’m using the Pico Projector and free ghost template to guide the details of the design. This can also be done freehand, but I like the predictability of the projector! CLICK HERE to download the Pumpkin Royal Icing Transfer Sheet!
Cookie Yield

For a single batch of dough, you can make 18-24 of these cookies. I should note that I roll my cookies to 1/4" thick using the Dough EZ Rolling Mat System. The thickness of your cookies will impact your yield.
COOKIE RECIPE: For a cookie recipe and rolling and baking video CLICK HERE - this recipe can be doubled in a KitchenAid Mixer.
Prepping the Royal Icing
ICING PREP
For a single batch of dough, I typically use a single batch of icing. Since I'm using a KitchenAid mixer, I made a double batch of icing and split it in half (reserving half for another project).
I used mostly white icing for the ghosts - about 12-14 oz. Then I mixed 2 oz of orange, 1 oz of black, 1/2 oz each of violet, leaf green and yellow. A total of about 18 oz of icing. I don't measure exactly...I estimate. For a more detailed look at icing planning, CLICK HERE to read this helpful blog post.
ROYAL ICING RECIPE
For a royal icing recipe and video CLICK HERE - this recipe can be doubled in a KitchenAid Mixer.